Only after adding and authenticating a Sharepoint connection or an MS Graph Connection (preferred) will you be able to add a Sharepoint List Form Connector, as detailed in this article.
Sharepoint List is a Premium Form Connector and requires Premium Users to access or use this connector.
Our platform lets you quickly and easily connect your Form entries to a Sharepoint List, allowing you to push data from form entries to your Sharepoint List as a new row.
In this article
- Adding
- Configuring
- Connector Logs
- Tips and Tricks
- Making Media Files and URLs Clickable in Sharepoint List
Adding
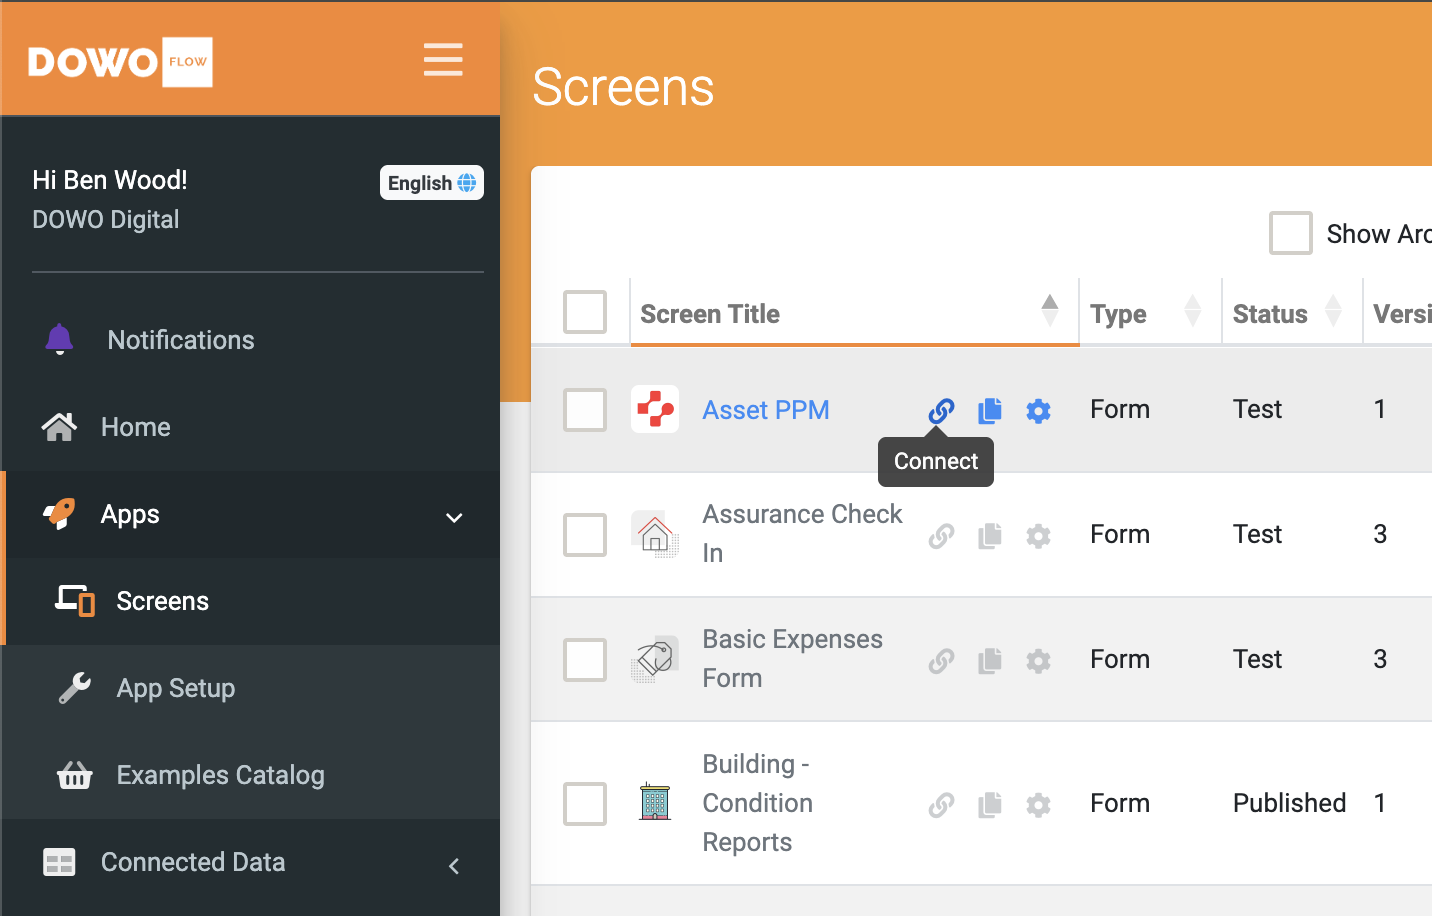
Form Connectors can be added to push data to other systems on the Form Connector's area of any Data Entry Form. Navigate the side menu to Apps > Screens and hover over the Connect option of the desired form.
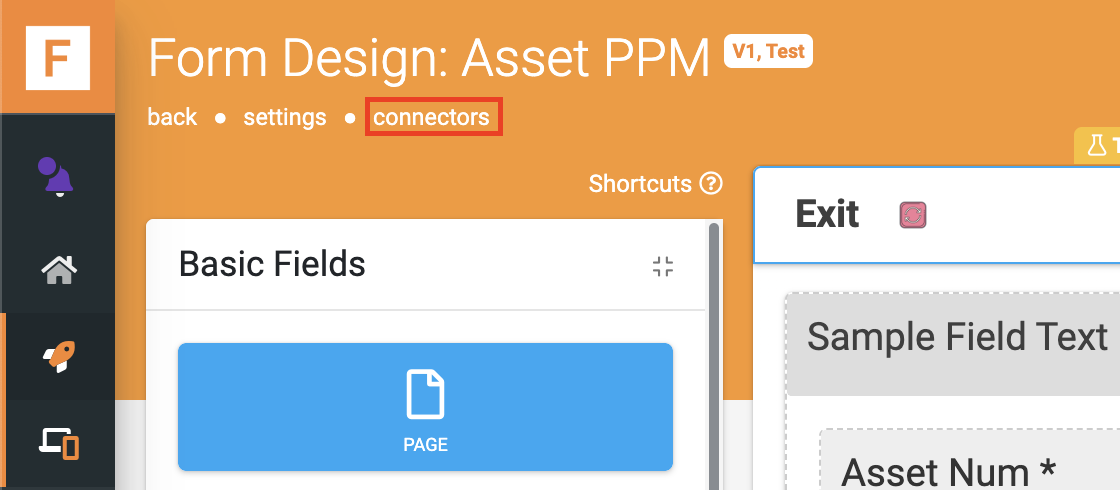
Or when either viewing a form's settings or designer.
On the Form Connectors page:
- Click the Add Connector button on the top right to bring up a list of connectors.
- Click on the Sharepoint List option.
Configuring
Ensure you have a valid SharePoint or Microsoft Graph connection defined in the Connections area.
Go to the Connectors page on any Form and add the new SharePoint List Connector. For this example, we will show you how to set up a Sharepoint List connection that uses a Microsoft Graph connection.

Enter the Sub-Site Name and specify the List name in the "List Name Search" field. Click the "Search" button so the system can retrieve information about your connected lists.

The system will return a dropdown list of available lists retrieved from your connection details and search criteria. Select the Sharepoint List you wish to use for your form, and a "GET FIELDS" button will appear, as shown in the screenshot below.

Once you've clicked the "GET FIELDS" button, the system will return a list of fields found in the specified Sharepoint List, and you can now map these fields to your form fields, as shown in the screenshot below.

Using Connection
Our platform allows you to have multiple Sharepoint or MS Graph connections configured in your Connections area. Select the Sharepoint or MS Graph connection you wish to use for this form connector.
Sub-Site Name
If the List is in a subsite of your connected SharePoint URL, specify the Site's name, e.g., sites/my subsite.
If using a Microsoft Graph Connection, this field is required, and only the Site Name or Subsite Name will need to be entered.
List Name
Enter the name of the SharePoint data List that you want to bind to. The List must be accessible by your connected SharePoint user account.
Columns From View
Optionally specify a target view to load List columns into your Data Source. If not specified, the List's default view is used (usually the "All Items" view).
Using a Microsoft Graph Connection, you can specify the internal column names in a comma-separated list, e.g., ID, Column 1, Column 2, etc.
Learn more about internal column names.
Field Mappings
Sets which form fields should bind to your SharePoint data list columns. Any columns not mapped to a specified value will be ignored and will not set a value in the data list.
Key
A new row will be added to your SharePoint List for every new Form entry by default.
If you also wish to update existing List rows, specify a List column to use as the unique Key for matching purposes.
When a Key is selected, our system will search your List for a row with a Key column value equal to the given Form value.
The matched List row will be updated with the incoming Form entry's data if a matching row is found. A new List row will be added if no match is found.
The connector also allows for repeating Form entry data by creating multiple rows, one for each repeat. All non-repeated data is copied down into each repeat row created.
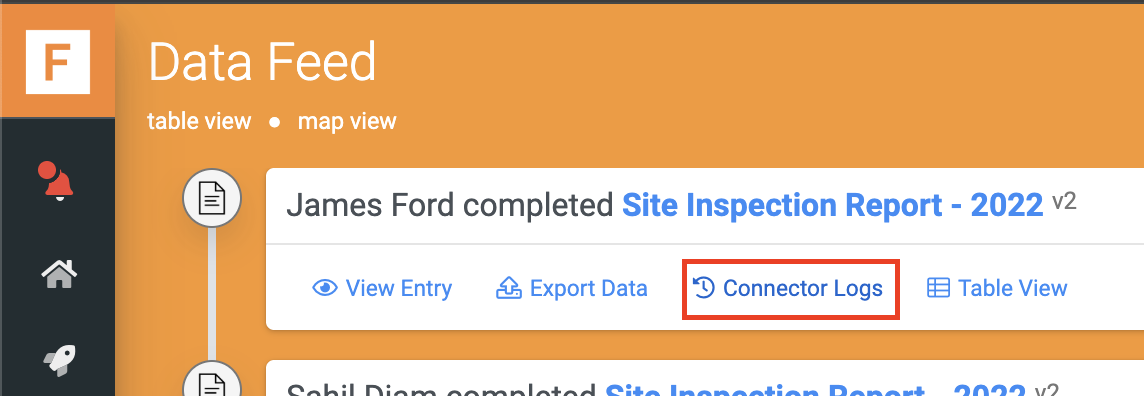
Connector Logs
After devices are synced, and a user uploads a form, form-captured data should be pushed to your Sharepoint List. This can be confirmed in the external system or by viewing the form's connector logs on the platform's Data Feed views.
Tips and Tricks
Making Media Files and URLs Clickable in Sharepoint List
Considering that you're already using Sharepoint, did you know that you can turn the Sharepoint List into a mini media repository? You can access the media files you generate in your report with just a click on an item in the Sharepoint List
To do this, you will need to generate a full URL of each media file before saving it to a column in your Sharepoint list. This can also be used to generate a clickable link in Sharepoint List if you save the full path of your PDF report when it's generated and saved to Sharepoint Documents. To get the full URL of any media generated through our platform, simply use the FILEURL() function e.g., FILEURL({{media_field}})
This will generate a fully qualified URL that you can use to access that media file directly. To make the link clickable in Sharepoint, do the following:
- In the Sharepoint List where you save your data, click the arrow next to the column with the FILEURL() media link.
- From the menu, go to Column Settings and then click on Format this column
- At the bottom of the formatting pane, click on Advanced mode
- Paste the following generic code in the editor
- Click Save. This will make all your links clickable, and you will be able to open them in a new tab.
